
Last winter I was determined to get rid of the hideous/useless grass patch in our backyard, and vowed to have a new hardscaped patio before summer. Starting in February when the weather warmed up, the digging began.
But before we get into the details, let's go down memory lane. Living outdoors is really important to us, so each year we document our lovely yard and I was really amazed at the number of photos we have taken over the years. I guess we just want to record all our hard work, because let's be honest maintaining a yard in Portland is a constant chore.
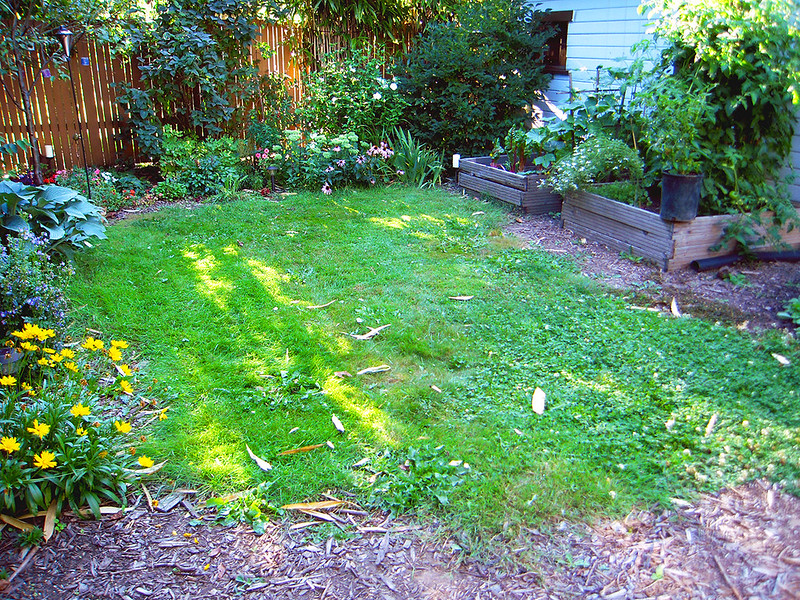
Back in 2007 our yard was nice and neat, look at how tiny all the plants are, including the bamboo! I was really shocked by how square and maintained the grass patch is, because that won't be the case in a few years.
Fast forward a few summers and the yard is looking a bit run down, but the plants are filling in nicely.
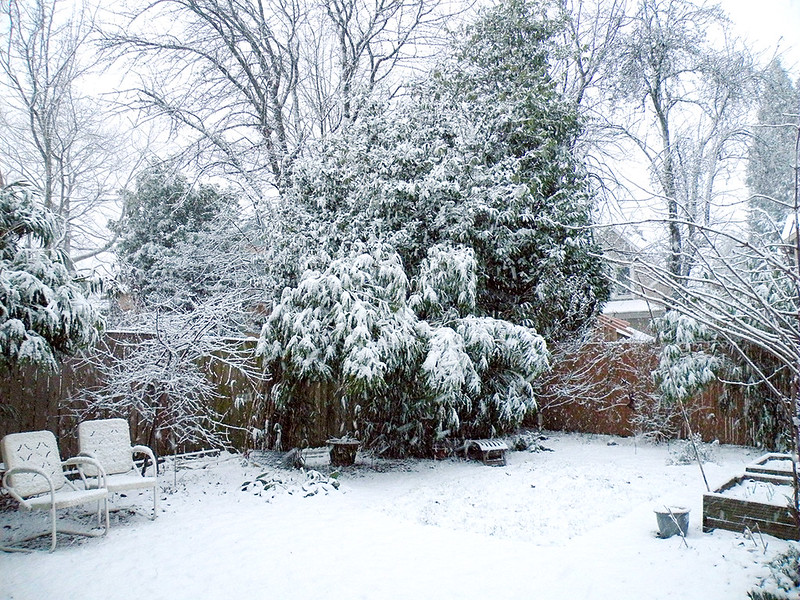
Winter that year.
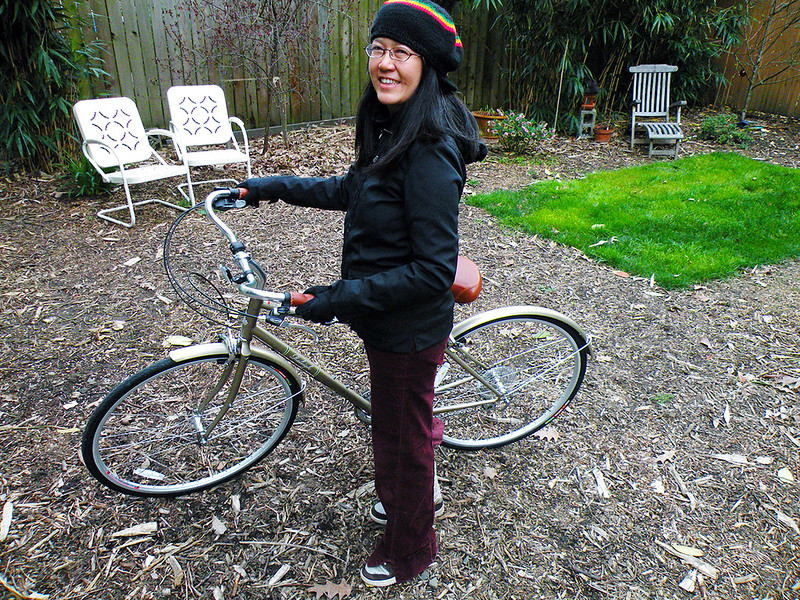
Early spring the next year, the grass patch is still nicely contained. You can see how empty it looks when the perennials haven't come back yet, as well as a shot of me and my bike.
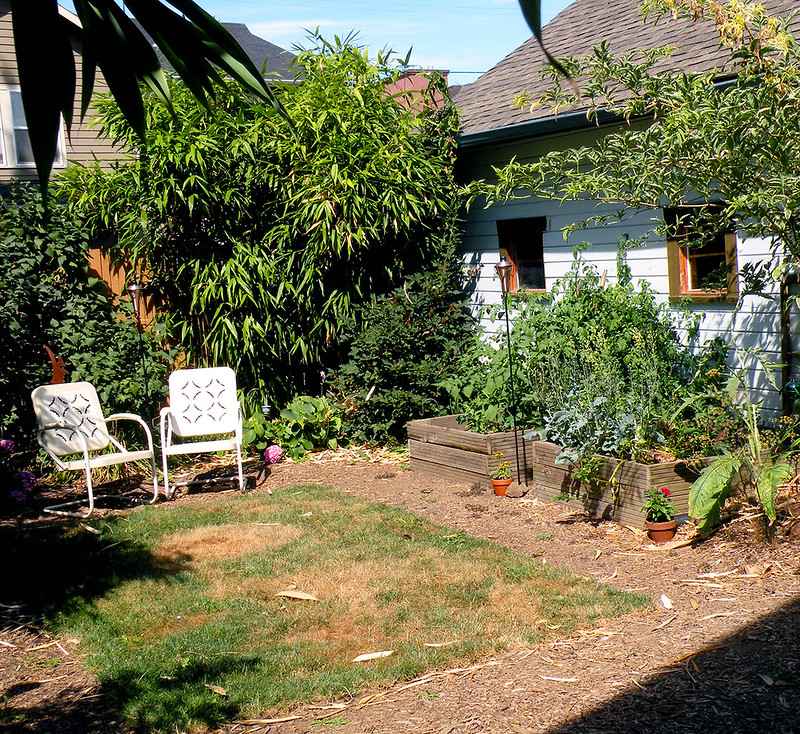
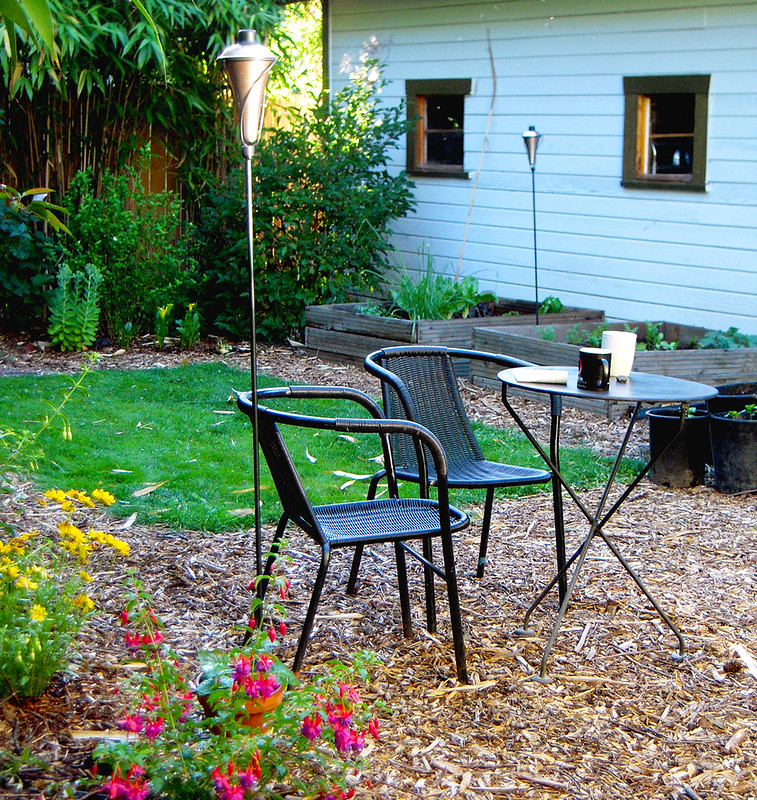
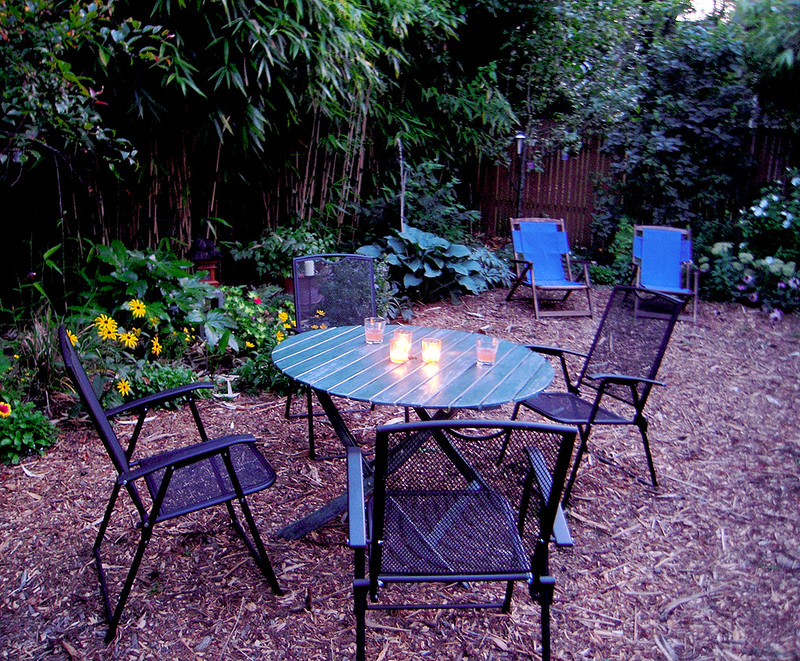
Summer that year, the plants have filled in nicely and we are fully enjoying the yard every morning.You can't see it, but there's a reason why the table and chairs aren't in the grass - it's uneven.
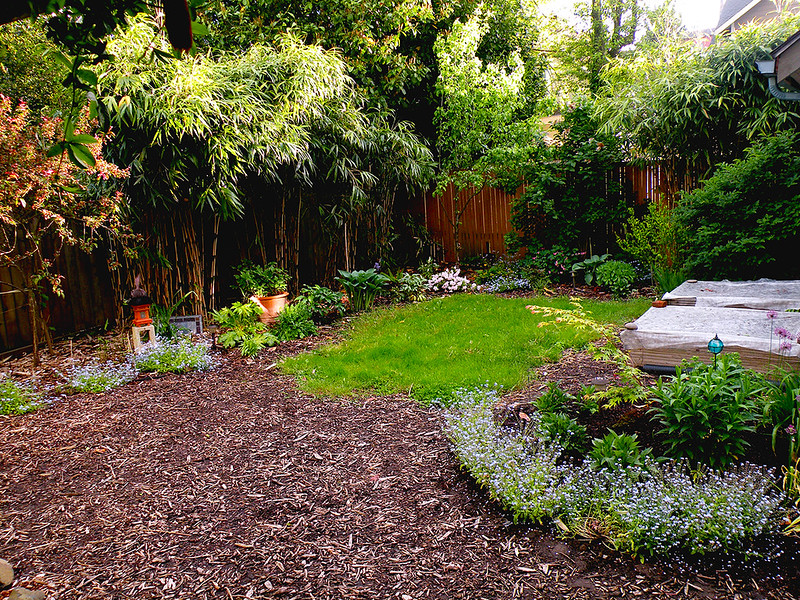
The following spring, the perennials are finally situated (so I thought) and you can see the beginning of the grass patch morphing. It only gets worse from here.
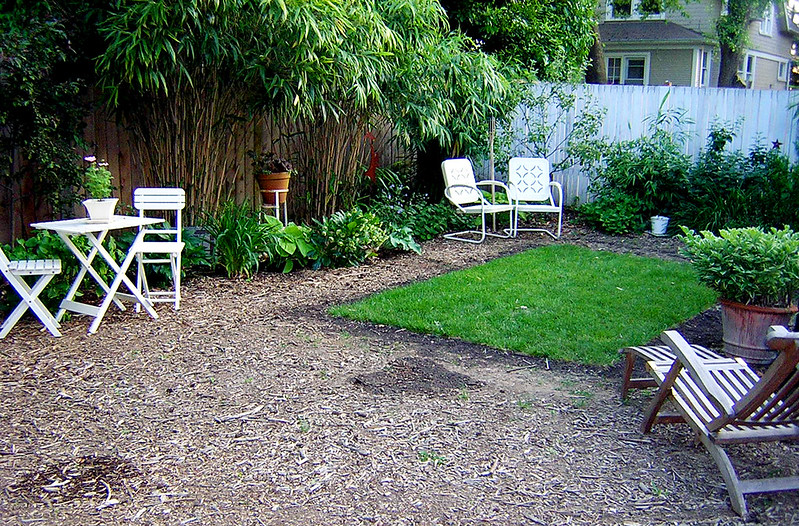
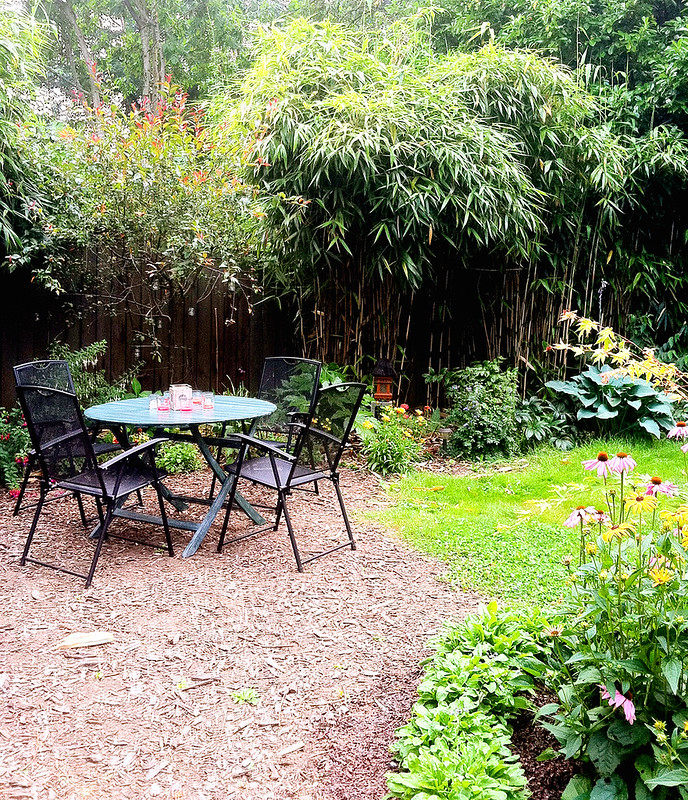
Only a few months later, the grass patch has completely lost its shape and is beginning to sag in the middle, with strange divots in parts, and clover is slowing creeping in. Thankfully the summer flowers still encouraged us to enjoy the space.
Here is a better view of the ugly grass patch. We begin to notice during BBQs no one stands in the grass. People kind of walk around it.
Fed up, we decide to simply put mulch over the whole grass patch, which seemed to only give it nutrients, because within a year it came back fast and furious.
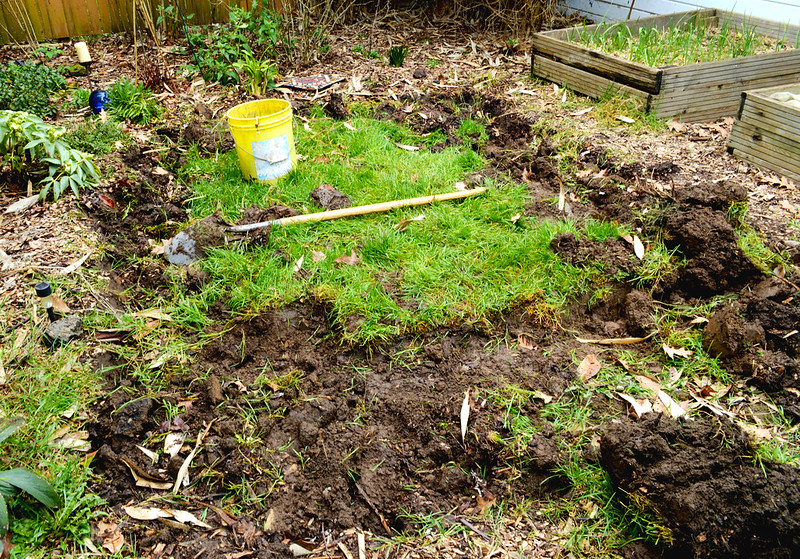
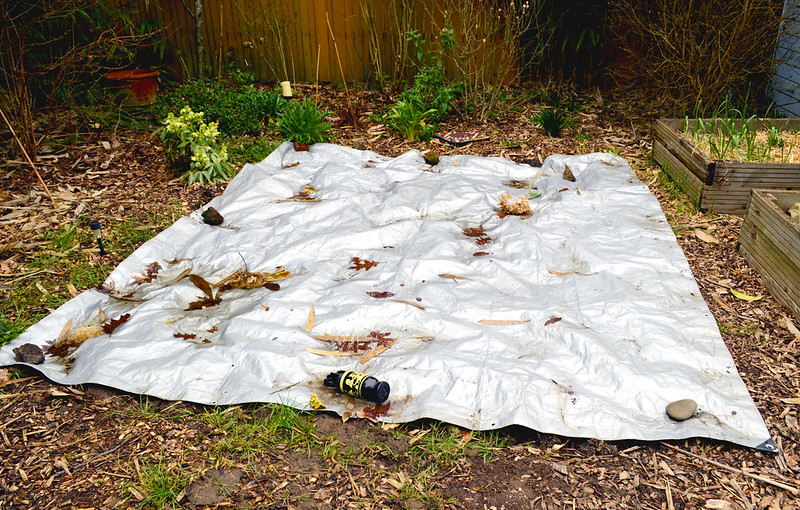
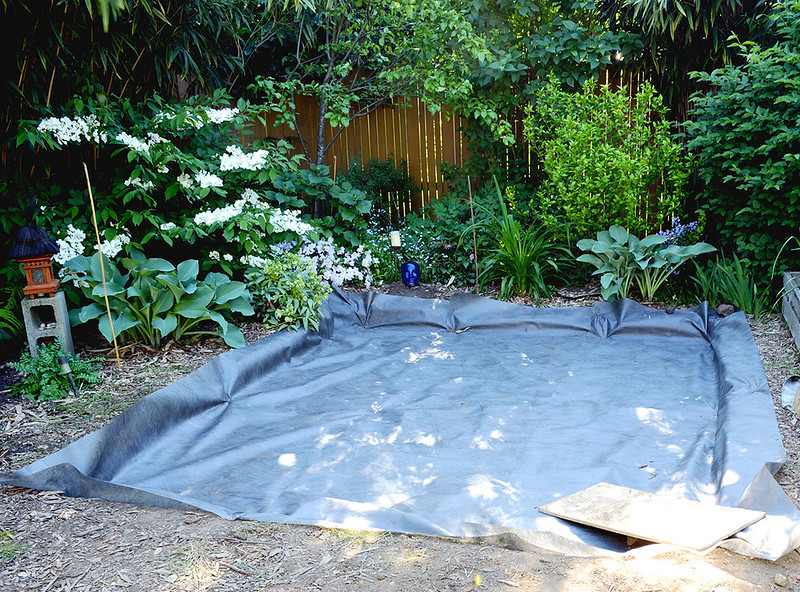
When we finally had a plan in place, we thought we would simply turn the grass over and let it decompose onto itself. However, we quickly learned sod was laid and we would have to pull it all up. Sod is heavy and the city will not dispose of it. So there was that conundrum. Most of it went into our compost bin and used to rebuild the sloping berm. After digging up all the sod we covered the dug out patch to prevent the neighborhood cats from turning it into a large kitty litter box, where it stayed like this for a month.
Back in 2007 our yard was nice and neat, look at how tiny all the plants are, including the bamboo! I was really shocked by how square and maintained the grass patch is, because that won't be the case in a few years.
Fast forward a few summers and the yard is looking a bit run down, but the plants are filling in nicely.
Winter that year.
Early spring the next year, the grass patch is still nicely contained. You can see how empty it looks when the perennials haven't come back yet, as well as a shot of me and my bike.
Summer that year, the plants have filled in nicely and we are fully enjoying the yard every morning.You can't see it, but there's a reason why the table and chairs aren't in the grass - it's uneven.
The following spring, the perennials are finally situated (so I thought) and you can see the beginning of the grass patch morphing. It only gets worse from here.
Only a few months later, the grass patch has completely lost its shape and is beginning to sag in the middle, with strange divots in parts, and clover is slowing creeping in. Thankfully the summer flowers still encouraged us to enjoy the space.
Here is a better view of the ugly grass patch. We begin to notice during BBQs no one stands in the grass. People kind of walk around it.
Fed up, we decide to simply put mulch over the whole grass patch, which seemed to only give it nutrients, because within a year it came back fast and furious.
When we finally had a plan in place, we thought we would simply turn the grass over and let it decompose onto itself. However, we quickly learned sod was laid and we would have to pull it all up. Sod is heavy and the city will not dispose of it. So there was that conundrum. Most of it went into our compost bin and used to rebuild the sloping berm. After digging up all the sod we covered the dug out patch to prevent the neighborhood cats from turning it into a large kitty litter box, where it stayed like this for a month.
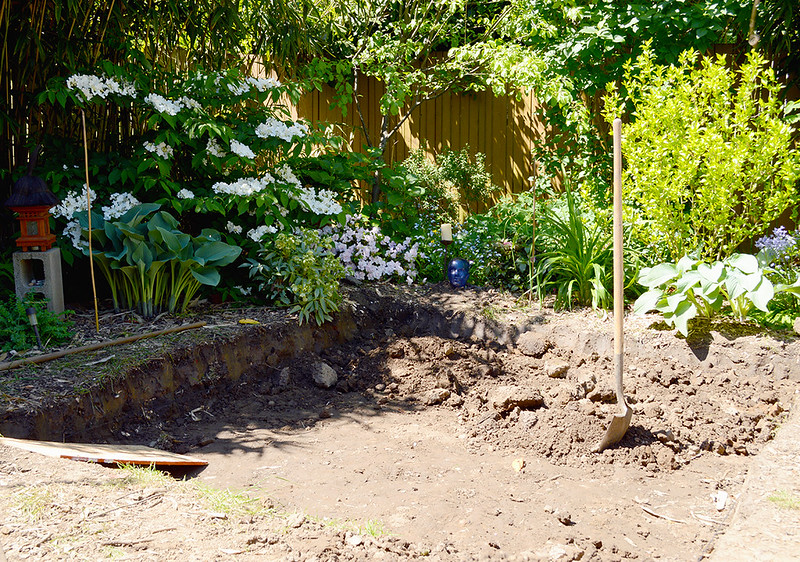
After we got back from vacation, panic started to set in as the weather became unseasonably warm and all the perennials started to fill in. So on the warmest spring day on record, we set out to bang out the patio in one weekend. After consulting numerous Youtube videos and calculating gravel/sand amounts needed, we secured a workhorse of a truck and started bright and early Saturday morning.
We had dug the patch too deep and spent a good portion of our first morning re-filling the patch with the dirt we took out. This turned out to be the most physically demanding part, other than the initial digging out of the sod. We laid a 10-foot 2x4 across the patch to measure the depth and ensure it was 7 inches at the drain end and 6 at the other end.
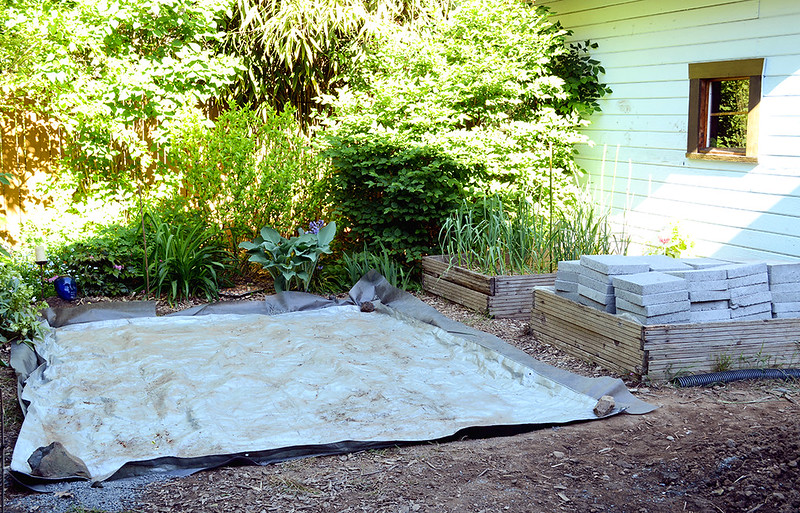
Next we used garden stompers to pound the dirt down. Those stompers made for a great arm workout. After the dirt was fairly level and tamped down, we laid weed guard.
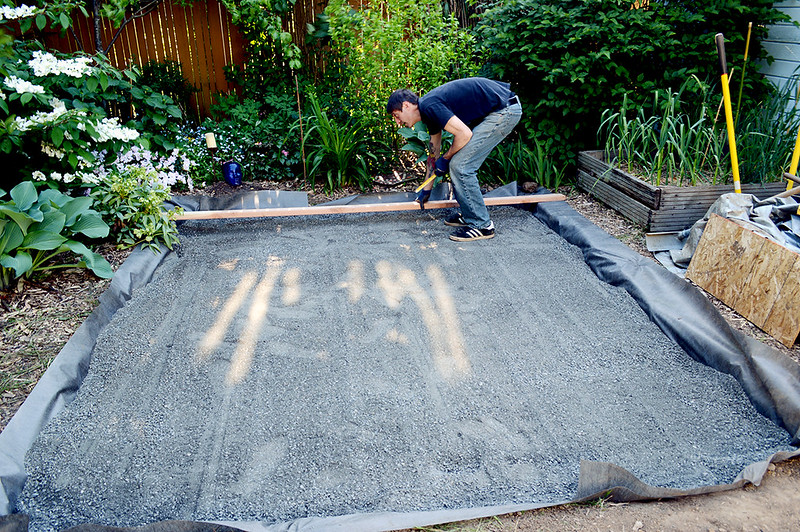
Next we laid down paving gravel and continually measured to make sure we had laid an even 3 inches down before stomping again with the garden stompers.
Once the gravel was laid, we covered it and stacked all the pavers for tomrrow. Then we called it a day. It was way pass dinner time, it was Quattro De Mayo and we had plans to see Los Estupidos play that night.
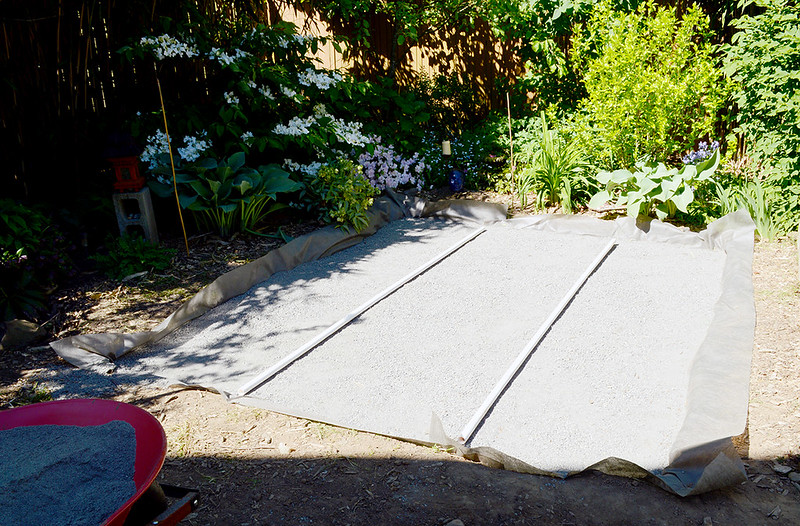
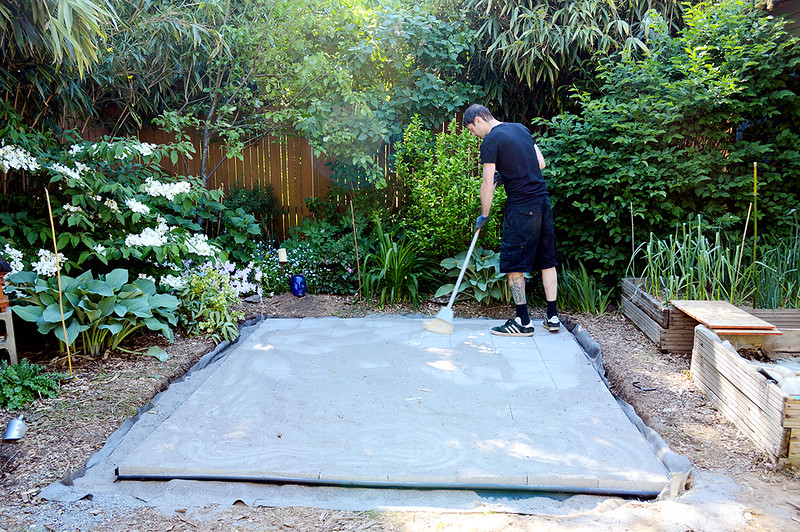
The next morning, still sore from the day and night before, we got up early and prepared to lay the sand. We used 1-inch plumbing tubes to ensure we laid an even 1-inch layer of sand before the pavers were placed.
Mike used to lay tile for a living, so we used a couple of his techniques to ensure the edge was straight, that the gaps between the pavers were even, and to prevent the whole patio from bowing in a curve. After all the pavers were laid in and straight, we nailed in edging all around to make sure nothing shifted.
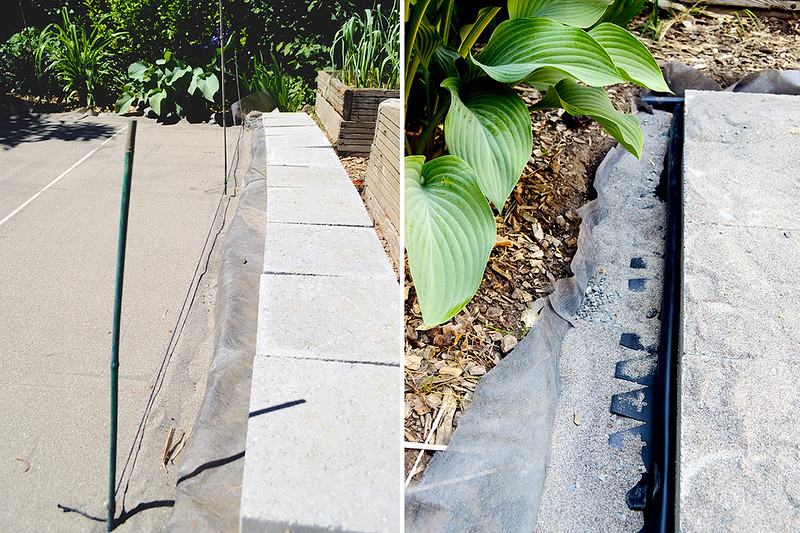
Now came the fun part, we scoop sand onto the pavers and slowly swept it into the gaps between each paver. Then we sprayed down the patio, let it dry, then swept more sand over. Last, we filled the gap, created by the edging between the patio and the flower beds, with soil.
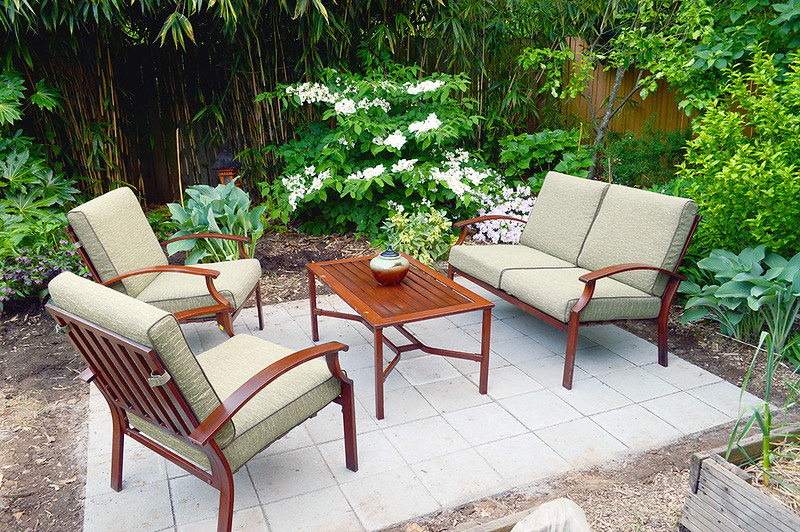
We then move large established plants into their new spacious spots before we situated the patio furniture we purchased last year at 75% off. This patio looks inviting from our kitchen window and we can't wait for all the plants to fill in. That night we were able to enjoy our handy work with Sunday dinner outside. We are ready for the warmer weather and now have a proper outdoor space to enjoy it. Summers not even here yet!
There are many people/places we need to thank for making this possible.
1. Han's 1980s Ford F250 - what a worn-in-ride and boy can this beast haul.
2. Northwest Compost Products - easy and affordable bulk landscaping materials. Those guys who ran the folklifts looked like they had a lot of fun with those machines.
3. Lowe's - due to advance internet pricing and browsing, only 1 trip was needed to get everything from the weed guard to the edging and pavers. Bonus was all the materials (heavy pavers) was forklifted directly into the truck. No heavy lifting on our part.
4. Portland Tool Library! Big ups for this amazing City of Portland non-profit resource center. Without them we don't know if we could have done this. We used their garden stompers, the largest gravel rake I have ever seen and an awesome tool called a concrete hoe! The right tool for the right job and the Tool Library really allowed us to do this patio correctly without the cost of purchasing expensive tools for just this use.
5. Cedo's Falafel and Christopher's Grill for nourishment when we simply couldn't afford to stop and make something.
I can't tell you how much we love this new patio. The yard finally looks nice and tidy, although I'm not sure I like the christmas cactus there, that thing has gotten huge over the years.
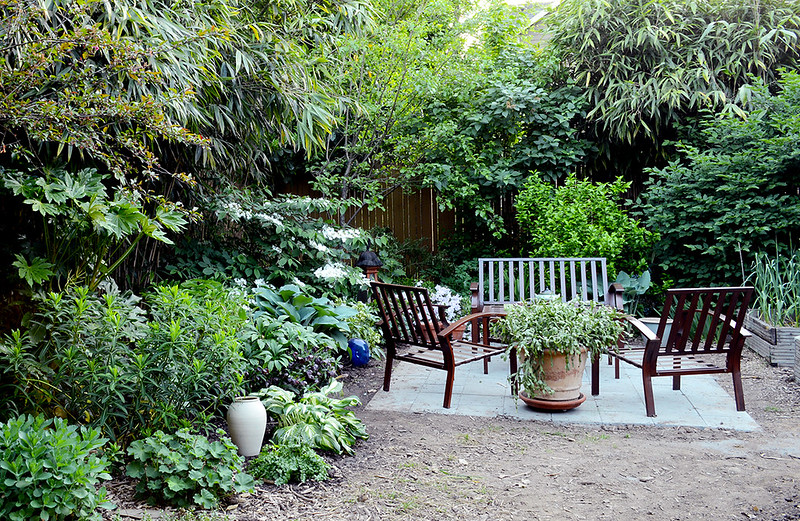
I can't tell you how much we love this new patio. The yard finally looks nice and tidy, although I'm not sure I like the christmas cactus there, that thing has gotten huge over the years.
1 comment:
Thanks for sharing this project. The final product looks fantastic! I was glued to every word. I have a backyard patio that I want to replace one of these days but it seems like an overwhelming project. This gives me a good idea of where to begin.. thanks!
Post a Comment